FreeSO Official Blender Sprite Exporter (v2.1)

Rhys

FreeSO Developer
Staff member
Moderator
upload_2016-10-7_23-58-35.png
71259d2982457ca944428025f8b45dec.gif

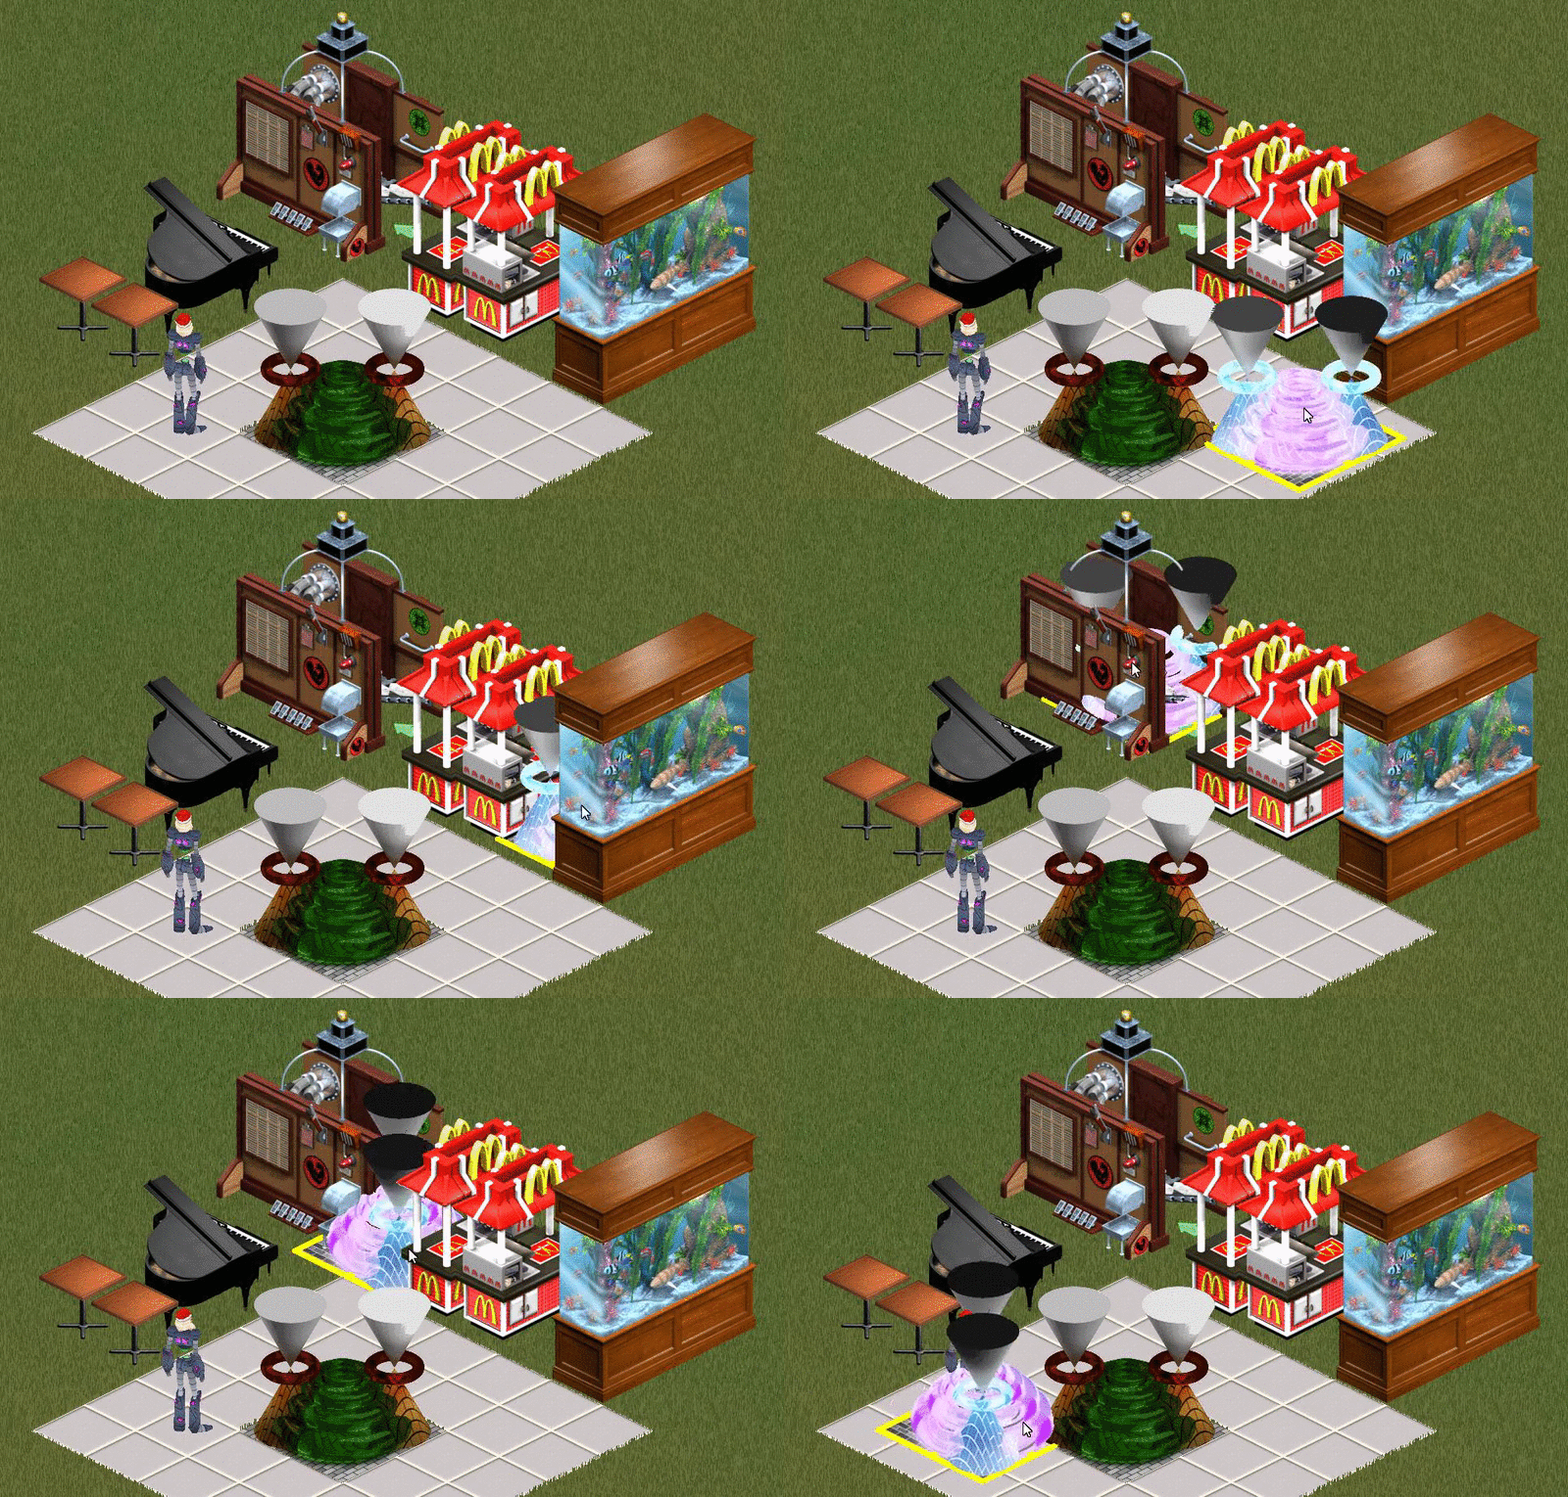
After what seems like forever of being stuck with using old versions of 3DS Max, there is now a way to create and render TSO/TS1 objects using blender, with z-buffer and multitile support out of the box.

Click here to download the template (v2.1)!

Older verisons:

v2.0 (for Blender 2.x)
See this post: https://forum.freeso.org/threads/freeso-official-blender-sprite-exporter-v1-1.2326/page-3#post-32464

v1.1
Click here to download the template (v1.1)!
Click here to download the script (v1.1)!


Part 1
Download the blender template. This contains most of the render setup - specifically the lights, cameras and the node configuration you see above which performs the Z and Alpha bmp export.

Part 2 (Only for v2.0 and older, non-packed)
Install our script which allows smarter multitile rendering. This is not necessary (4 rotations for single tile can be rendered via Render Animation), but is recommended for if you wish to move onto making a multitile object.

If you're using a newer version, all you need to do is accept running embedded python scripts when Blender asks.

Installation (v2.0 non-packed and older)
  • Download the script.
  • Open the Blender User Preferences and switch to the Addons Tab.
  • Click the Install from File button, and choose freesomultitile.py.
  • Tick the box next to FreeSO Multitile Exporter to activate the project.
  • Save User Preferences.
  • The FreeSO Tab will appear in your 3D View. This will be the home of all FreeSO plugins.

Recommended Settings
I recommend that you use blender's Cycles renderer for the best result. This is a path-tracing renderer... It is harder to configure and renders slower but the lighting is incredibly accurate and much better than the raytracer's ambient occlusion, and you can create some really interesting results with realistic BRDFs. (look up Disney BRDF)

Render with the "Final" preset and "Full Global Illumination" when you are finished creating your object. Until then, you should probably use "Preview" or even model the object's shape out with Blender Render as it is much faster. You should also render only a single tile and rotation using blender's normal render functions - do not continuously render all of them as that will take a long time!

Problems
Right now, the volcanic sprite importer is your biggest enemy! If your image has too many colours, it won't be quantised correctly and will look really bad. Also PIFF seems to completely nuke itself sometimes. These issues will be fixed eventually, but just be careful until then. You may even wish to reduce the colour depth of your bitmaps before importing them!

When you click "Render Multitile" Blender will freeze completely until the render operation is done. PLEASE WAIT UNTIL IT COMPLETES! Please do not set the width and height to like 32 and then do this... You will lose everything! This will be solved eventually, once I figure out how to asynchronously render back to back with python.

Fulfil your wildest dreams... Including an arrow table which makes no physical sense other than to tell you which way north is!
upload_2016-10-8_1-14-44.png
 
Last edited:
Even though I am not a 3D modeler or an object maker/artist, I am fascinated by how it i s all put together so I had to have a look myself. What is the second window that opens up when the template is loaded? (For me it just displays a black screen)
 
I don't know why it would display a black screen, I think it's just a second render window placed at the camera.
 
As a completely second window? Cool. Perhaps I have some setting off somehow that wont let it show. This is what I get
FreeSoBlenderTemp_v1.1.jpg

One window with 2 3D viewports (odd. I thought there was also a node editor on top when it first opened. Well. I'm feeling less and less reliable every second!) and a completely separate window opens up on top of it which can be minimized. Or closed, though the very first time it could not and I had to use the task manager to get out of blender so perhaps my second render window blew up then. I'll re-download and start from scratch. Thanks :)

(By to way I know this isn't exactly what your template is intended for but it has been REALLY useful for understanding the parts of the 3D view. The beginner tutorials were a smidge too simple for me to really understand a few things. This was fantastic.)
 
Hmm, I thought you meant window as in the second panel in the separator. That black window shouldn't be there.
 
So I have been messing around with Blender for quite some time, but for the life of me I cannot figure out how to render the Z or alpha channels -help?
 
I've only been able to do so using the script. Render Animation (as suggested in Part 2 of the instructions above) did give me the alphas, I think, but the Z was just flat grey.
 
You must use this template with the plugin to render these channels.
 
Yep, using the template with the plugin installed.
I had another go and found I was mistaken, Spiker90910. If I managed to render the alpha out before I sure dunno how now - but chances are higher that I was simply mis-remembering.

Rhys, render animation is resulting in the following Z buffer on the RenderLayer Layer.
FreeSO_sprites-manually.jpg


The Composite Layer (and the resulting saved image using F3) is just a blank white sprite for both the A and the Z buffer (the P sprite does get it's yellow background properly)


Here is the z buffer that your script produced of same object (slightly different scale on the X & Y. sorry about that)
blender_spr_r0_near_depth.png
 
Last edited:
Well, I got the 3 layers from rendering the 4 camera angles separate, however the z-buffers are off - I have to adjust them via photoshop. Are the Z-buffers supposed to be accurate, or is tweaking necessary, or am I doing something incorrect?
 
They are meant to be exact. Have literally no idea why they wouldn't be, all I can say is make sure you are on the latest version of blender.

You're not meant to use render animation due to how the script needs to be wired.
 
1. After rendering... I export my creations as what? .ply? .stl?
2. what folder do I drop this? Do i drop this directly into tso files
3. Do I use volcanic to import it and then is saved in the game?


Thanks.


PS. Me and blender come a long way -- Its giving me something extra to get busy about.
 
Last edited:
You use Volcanic to import the sprites generated when you rendered into an existing object (replacing it's graphics)
 
I save as a .blend file.
The 3D model is not turned into the Sims object itself. It is made specifically to get the renders.

EDIT ONE YEAR LATER:
WOW!! Is that statement out of date now or what?! LOL


For anyone looking up how to export their 3D models to import into FreeSO 3D, see the wiki page for basics and for Blender export settings
https://github.com/riperiperi/FreeSO/wiki/3D-Remeshing
 
Last edited:
Back
Top