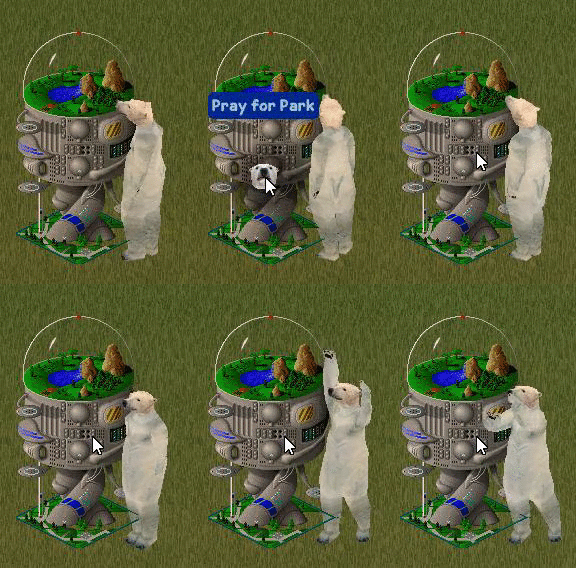
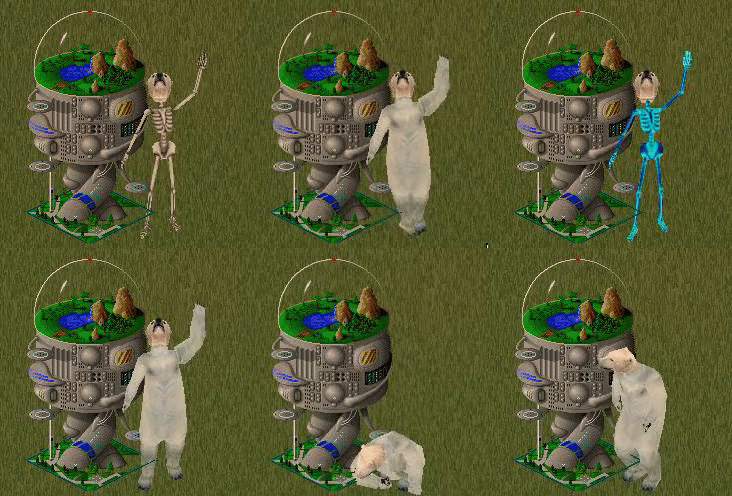
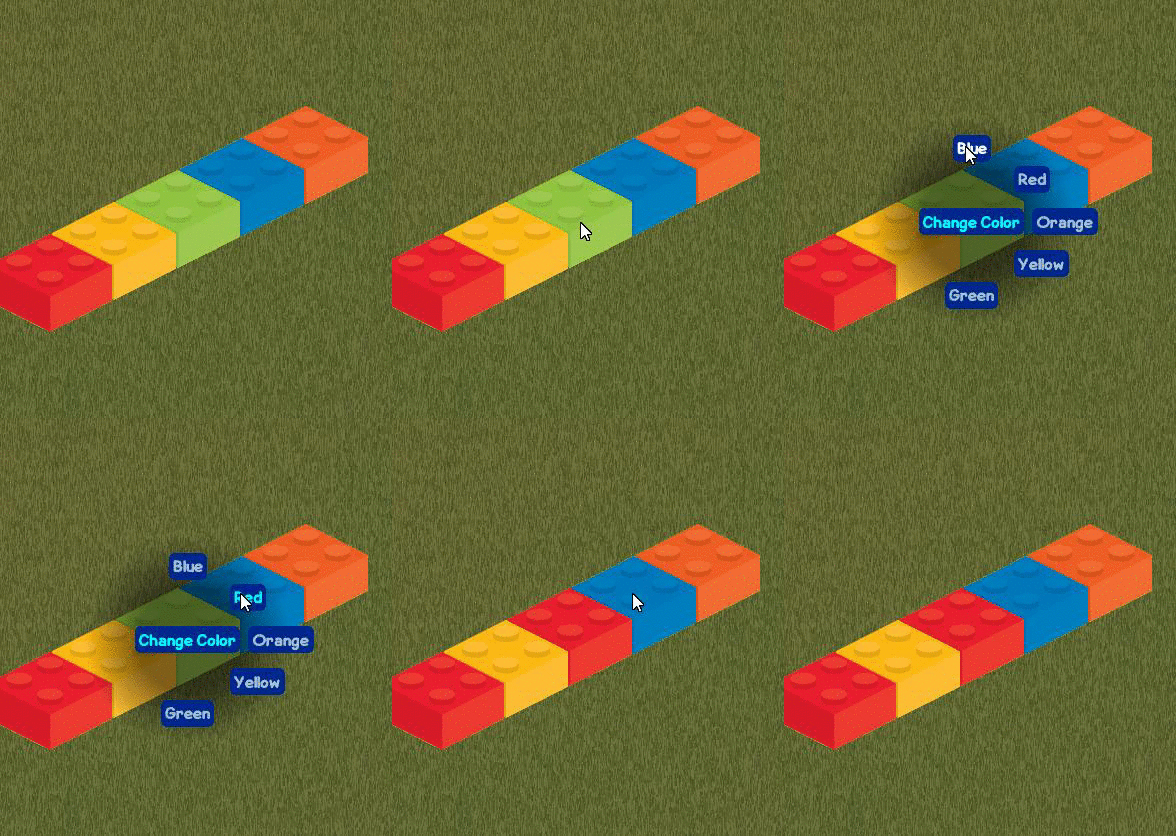
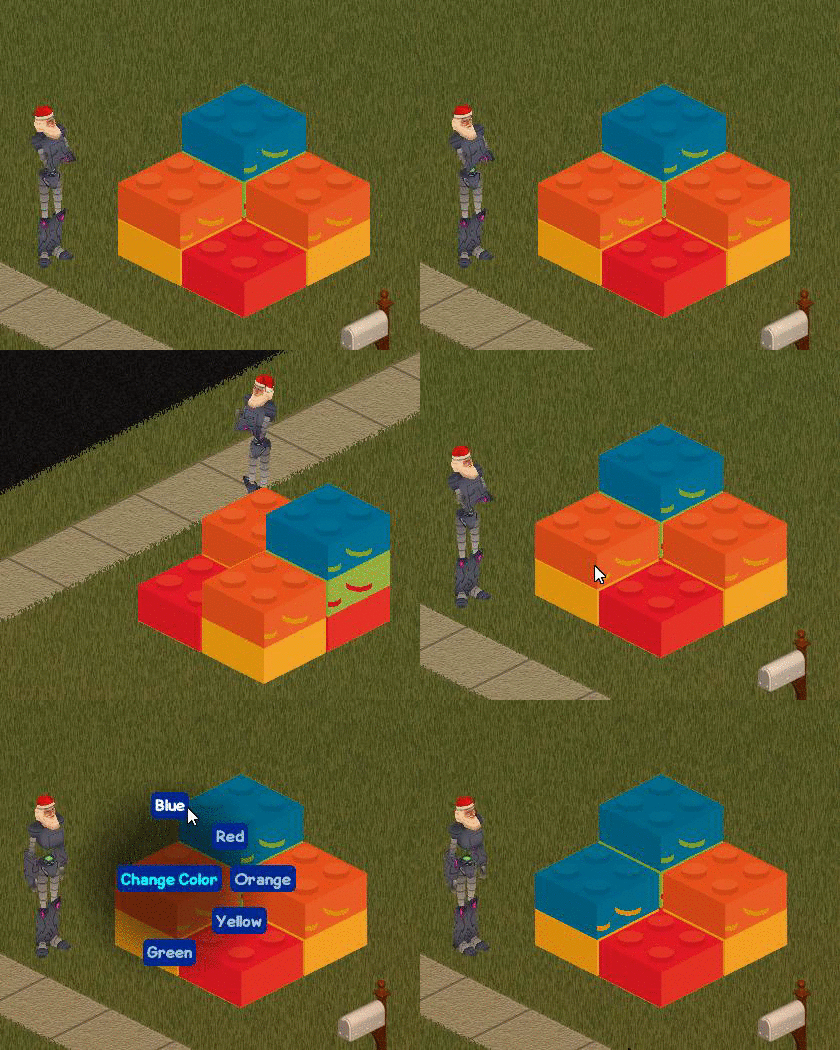
Summary:
In this task, you have to bring it all together! Make your own object from scratch, set up a base graphic, give it an init and main function, and make at least one interaction for it. The object can be as simple as possible apart from these requirements.
I don't expect participation for this task to be high, but I'm interested to see what you can come up with if you're up to it! The object does not have to be complicated, it just has to be made from scratch and have at least one simple interaction.
Process:
Firstly, you probably want to think of something to make. I've decided to make a decorative object depicting the SECC in Glasgow, because I see it like every morning. I've prebaked some sprites for these using the 3ds max sprite exporter plugin for 32-bit 3DS Max 9 (you do not have to do this):
http://www.maxplugins.de/r9_files/maxis/spriteprocessing.zip
We want to create a new iff for the object. In the Main Window (or a button in the object browser), select New > Object. Choose a unique name for your iff, then name your object. Just click "random GUID" to generate a GUID for your new object.


Immediately the object editor window will appear, depicting a very clearly empty object. Switch to the appearance tab - you'll see that there are no graphics.

First thing we want to do is create a new drawgroup to use as our base graphic. Click the "+", then set up the graphic from all directions. This has been covered in Task 2:
http://forum.freeso.org/threads/task-2-modify-existing-objects-appearance.1122/
For my SECC example, I've made multiple graphics with the intention of animating them. These are made out of two sprites, one of which being the SECC itself, and the other being a helicopter. I made these in blender, exported the sprites using 3DS Max and imported them using the "Import TGA Sheet" option.

Select the graphic you made, and set it as the First and Last graphic of your object using the buttons. For my object, I've created multiple animation frames - I used the "copy" feature to copy the first graphic multiple times, and for each group I adjusted the helicopter's Z physical offset to make it float up and down.
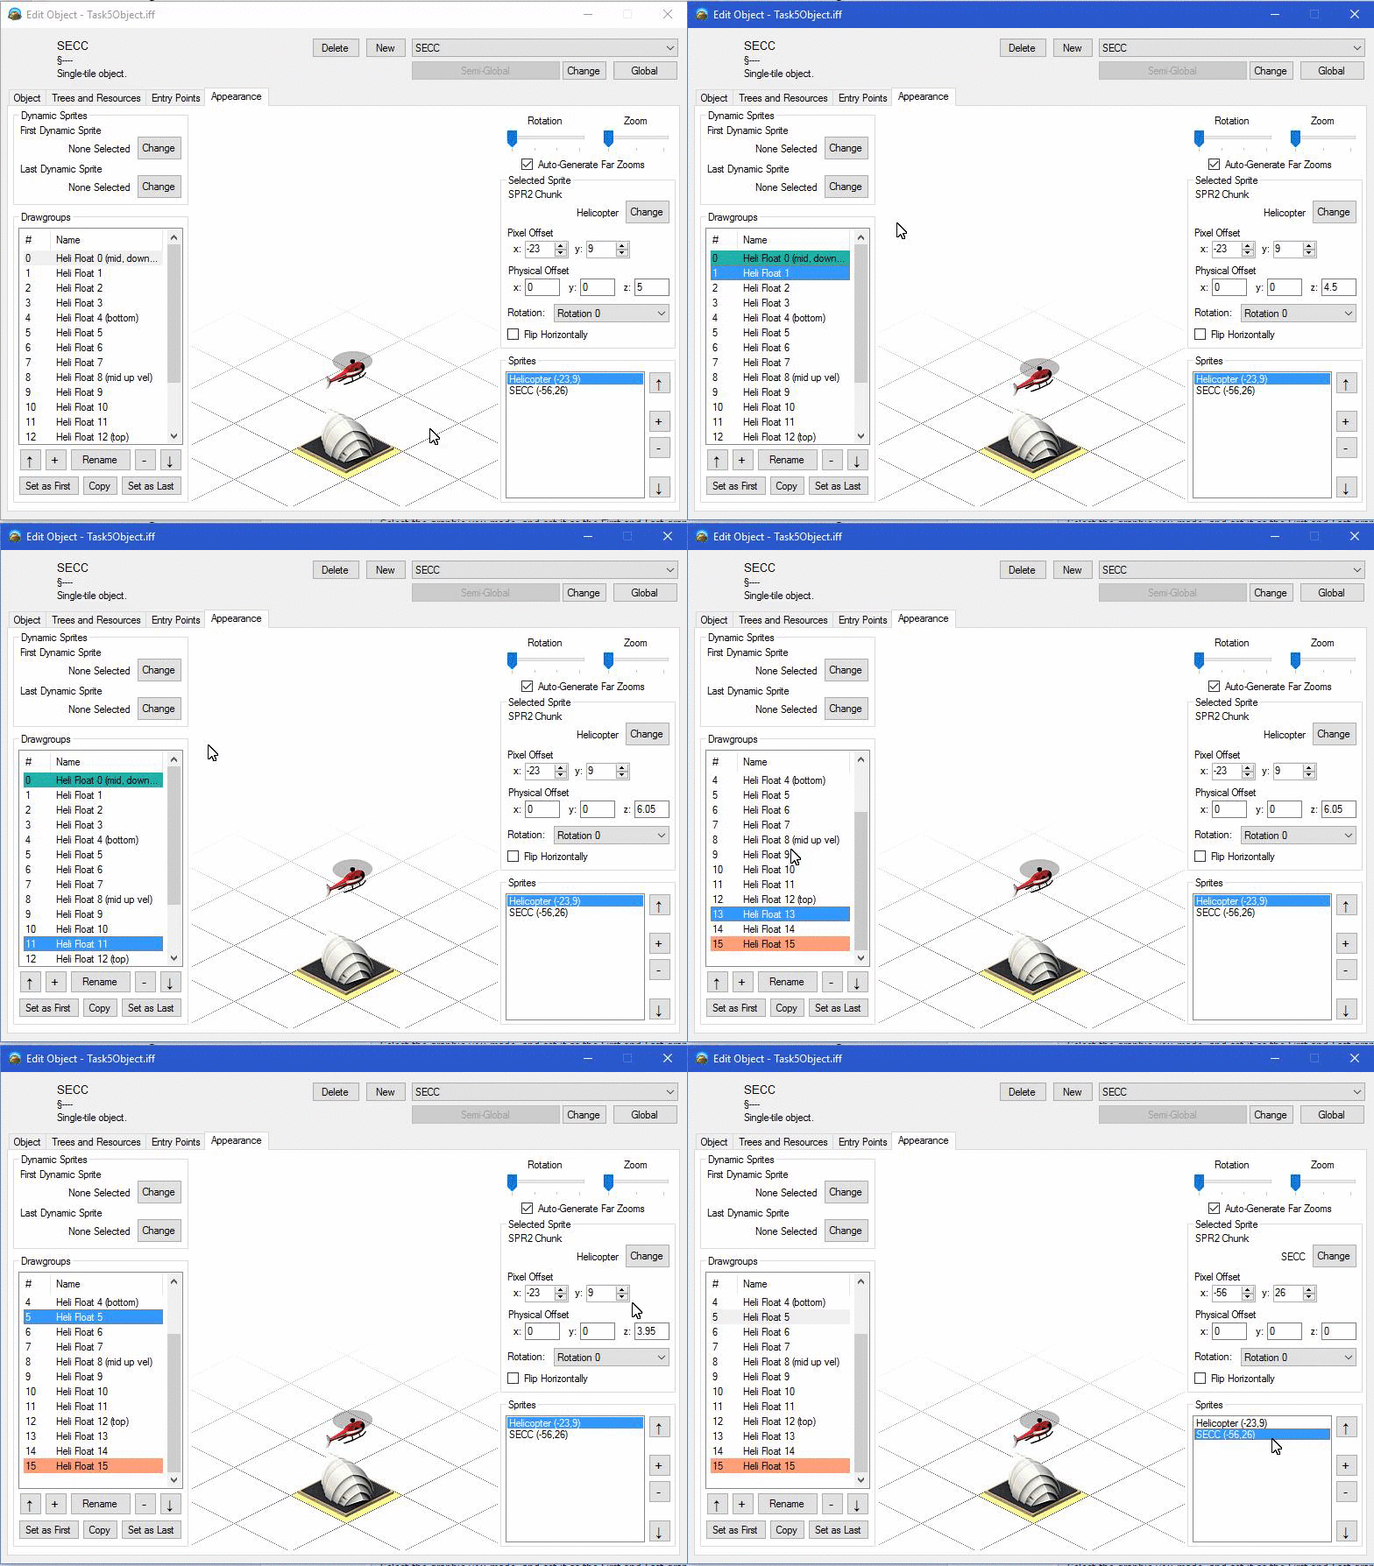
Next up, we need to set up the basic BHAV trees for the object. All objects need both an "init" and "main" tree. Init trees are run when the object is first created, and set up attributes like where the object is allowed to be placed and initialize any Attributes for that object. Main trees are run constantly, and should contain a "Global: Idle" subroutine inside an infinite loop - within which you should perform periodic operations for that object, such as changing the graphic.
To create a BHAV tree, go to Trees and Resources, select "Trees" in the combobox and click "New". Your tree should have an ID between 4097 and 8191 - this is the allowed range for trees "Private" to an object. (above 8191 is Semi-Global, and below 4096 is Global) Open it up and it will be totally empty! You should probably start with the subroutine "Global - Init Object". Add whatever else you need, sequentially link them to each other, and end on a "Return True", which you can place by pressing "Ctrl-T" (Ctrl-F places a Return False)
Here's one I made:

This just runs the standard Init function for objects, and sets a flag to allow the object to be placed on the tables as well as the floor. (floor is set by the global function!)
Here's the main function I made:

This simple main function actually animates the object when it is placed in the world. The object repeatedly idles for 2 frames (Argument 1 of the Idle function), increments the graphic and mods it against the total number of graphics, to get it to cycle back to 0 when it hits 16. Each time this is done, the graphic is refreshed.
To place an object in the world, use the "Create New Object Instance" button in the Object Browser! It does not currently appear in the catalog!
If we didn't want the object to do anything, we'd just make the idle subroutine point back to itself, and have its Argument 1 be a rather high number, eg. 3000 ticks.

Now that we've set up these functions, we should set them to be our new object's "init" and "main" entry points (you'll notice that these are highlighted in red, as they are required). To do this, go back to the object window, and on the Entry Points tab, set the "Action" tree for both the init and main functions to the ones you just created.
The "Check" tree, when it exists, is run before the action tree to determine whether it should be considered for running depending on the true/false value returned. For idle and main, this is not important - they ignore the check tree as they should always run.
Here it is with our functions set. Now, we can place the object in a lot, and it will work correctly:
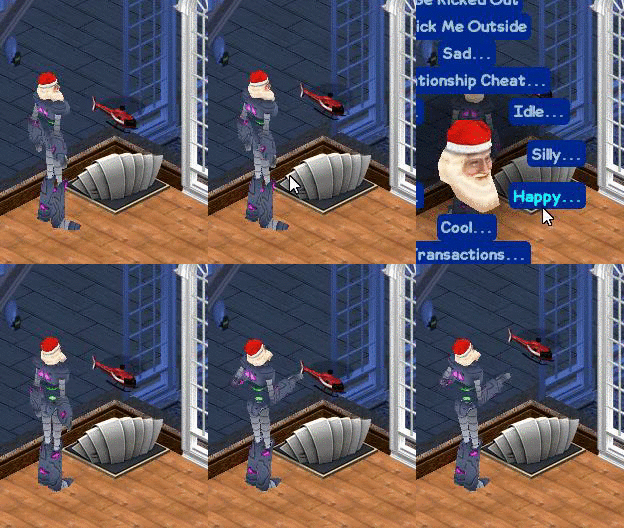
But... This isn't good enough! We need an interaction! Lets make a simple one, where we simply walk up to the object and clap at it. First make another tree, call it something like "Interaction - Appreciate". There are no rules for this type of tree, they just run from start to finish on the sim, with the target object in the "Stack Object. Here's one I made:

We just walk the sim up to the object and run the clap animation. No funny business! The Animate Sim primitive's false branch is how it deals with events, so we just loop that back to itself. After that, the interaction just ends.
Now that the tree exists, we need to add it to a "Tree Table" - a grouping which gives pie menu names to trees, allows them to be queued as interactions and provides a "check" functionality to optionally hide interactions that should not be available. Go to the Trees and Resources tab and go to "Tree Tables" and you'll be shocked that we don't have any! Create a new one the same way we created a tree, and give it a reasonable id (eg 100).

Set add an interaction and name it appropriately. Set its action tree to the one we just created, then click "Select as My Tree Table" to make it the main tree table for the object you've created. Now place your object in the lot again, and click on it. Your interaction will be there - give it a shot!
(Don't worry about the flags yet - most of them do not work and will default to allow everyone anyways.)
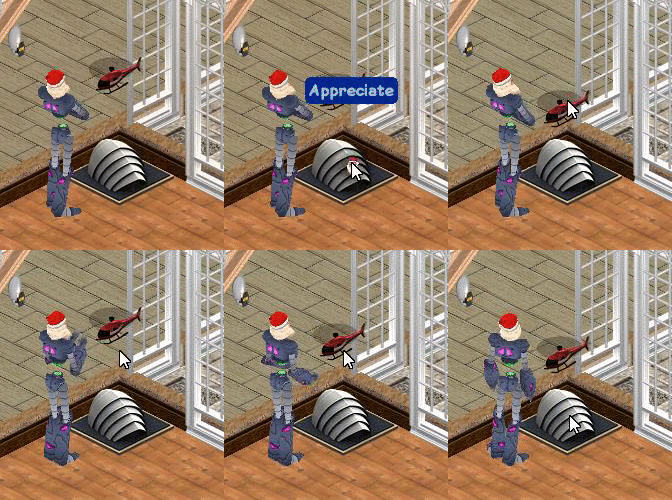

Wow - check this out! All these resources we made, entirely from scratch. Click save and your object will be saved for future generations to enjoy.
...And you're done! You've made your first object. Good for you! This is the most powerful thing you can do with the editor - you can make literally anything. The only limit is yourself! If you can make something really cool, I might even include it in the live beta when the global server is working.
Submitting Feedback:

After translating your object, go open up the main window, go to the Resources tab, and click "Save All".
If your object is an original game object, this will save your changes to "Content/Objects/objectname.iff" relative to the FreeSO folder, where objectname is name of the object file you modified.
If your object is completely custom, it will be saved back to the .iff file in the "Content/Objects" folder. It will be permanently modified, so watch out!
Upload all files like these to the internet somehow, and create a post like below showing screenshots of it in action and linking to the files. You should also include some feedback on how it went - this is the most important part!!!
In this task, you have to bring it all together! Make your own object from scratch, set up a base graphic, give it an init and main function, and make at least one interaction for it. The object can be as simple as possible apart from these requirements.
I don't expect participation for this task to be high, but I'm interested to see what you can come up with if you're up to it! The object does not have to be complicated, it just has to be made from scratch and have at least one simple interaction.
Process:
Firstly, you probably want to think of something to make. I've decided to make a decorative object depicting the SECC in Glasgow, because I see it like every morning. I've prebaked some sprites for these using the 3ds max sprite exporter plugin for 32-bit 3DS Max 9 (you do not have to do this):
http://www.maxplugins.de/r9_files/maxis/spriteprocessing.zip
We want to create a new iff for the object. In the Main Window (or a button in the object browser), select New > Object. Choose a unique name for your iff, then name your object. Just click "random GUID" to generate a GUID for your new object.


Immediately the object editor window will appear, depicting a very clearly empty object. Switch to the appearance tab - you'll see that there are no graphics.

First thing we want to do is create a new drawgroup to use as our base graphic. Click the "+", then set up the graphic from all directions. This has been covered in Task 2:
http://forum.freeso.org/threads/task-2-modify-existing-objects-appearance.1122/
For my SECC example, I've made multiple graphics with the intention of animating them. These are made out of two sprites, one of which being the SECC itself, and the other being a helicopter. I made these in blender, exported the sprites using 3DS Max and imported them using the "Import TGA Sheet" option.

Select the graphic you made, and set it as the First and Last graphic of your object using the buttons. For my object, I've created multiple animation frames - I used the "copy" feature to copy the first graphic multiple times, and for each group I adjusted the helicopter's Z physical offset to make it float up and down.

Next up, we need to set up the basic BHAV trees for the object. All objects need both an "init" and "main" tree. Init trees are run when the object is first created, and set up attributes like where the object is allowed to be placed and initialize any Attributes for that object. Main trees are run constantly, and should contain a "Global: Idle" subroutine inside an infinite loop - within which you should perform periodic operations for that object, such as changing the graphic.
To create a BHAV tree, go to Trees and Resources, select "Trees" in the combobox and click "New". Your tree should have an ID between 4097 and 8191 - this is the allowed range for trees "Private" to an object. (above 8191 is Semi-Global, and below 4096 is Global) Open it up and it will be totally empty! You should probably start with the subroutine "Global - Init Object". Add whatever else you need, sequentially link them to each other, and end on a "Return True", which you can place by pressing "Ctrl-T" (Ctrl-F places a Return False)
Here's one I made:

This just runs the standard Init function for objects, and sets a flag to allow the object to be placed on the tables as well as the floor. (floor is set by the global function!)
Here's the main function I made:

This simple main function actually animates the object when it is placed in the world. The object repeatedly idles for 2 frames (Argument 1 of the Idle function), increments the graphic and mods it against the total number of graphics, to get it to cycle back to 0 when it hits 16. Each time this is done, the graphic is refreshed.
To place an object in the world, use the "Create New Object Instance" button in the Object Browser! It does not currently appear in the catalog!
If we didn't want the object to do anything, we'd just make the idle subroutine point back to itself, and have its Argument 1 be a rather high number, eg. 3000 ticks.

Now that we've set up these functions, we should set them to be our new object's "init" and "main" entry points (you'll notice that these are highlighted in red, as they are required). To do this, go back to the object window, and on the Entry Points tab, set the "Action" tree for both the init and main functions to the ones you just created.
The "Check" tree, when it exists, is run before the action tree to determine whether it should be considered for running depending on the true/false value returned. For idle and main, this is not important - they ignore the check tree as they should always run.
Here it is with our functions set. Now, we can place the object in a lot, and it will work correctly:

But... This isn't good enough! We need an interaction! Lets make a simple one, where we simply walk up to the object and clap at it. First make another tree, call it something like "Interaction - Appreciate". There are no rules for this type of tree, they just run from start to finish on the sim, with the target object in the "Stack Object. Here's one I made:

We just walk the sim up to the object and run the clap animation. No funny business! The Animate Sim primitive's false branch is how it deals with events, so we just loop that back to itself. After that, the interaction just ends.
Now that the tree exists, we need to add it to a "Tree Table" - a grouping which gives pie menu names to trees, allows them to be queued as interactions and provides a "check" functionality to optionally hide interactions that should not be available. Go to the Trees and Resources tab and go to "Tree Tables" and you'll be shocked that we don't have any! Create a new one the same way we created a tree, and give it a reasonable id (eg 100).

Set add an interaction and name it appropriately. Set its action tree to the one we just created, then click "Select as My Tree Table" to make it the main tree table for the object you've created. Now place your object in the lot again, and click on it. Your interaction will be there - give it a shot!
(Don't worry about the flags yet - most of them do not work and will default to allow everyone anyways.)


Wow - check this out! All these resources we made, entirely from scratch. Click save and your object will be saved for future generations to enjoy.
...And you're done! You've made your first object. Good for you! This is the most powerful thing you can do with the editor - you can make literally anything. The only limit is yourself! If you can make something really cool, I might even include it in the live beta when the global server is working.
Submitting Feedback:
After translating your object, go open up the main window, go to the Resources tab, and click "Save All".
If your object is an original game object, this will save your changes to "Content/Objects/objectname.iff" relative to the FreeSO folder, where objectname is name of the object file you modified.
If your object is completely custom, it will be saved back to the .iff file in the "Content/Objects" folder. It will be permanently modified, so watch out!
Upload all files like these to the internet somehow, and create a post like below showing screenshots of it in action and linking to the files. You should also include some feedback on how it went - this is the most important part!!!
Last edited:


